
2 Methods to Remove Google FRP Galaxy A3 Core Without PC
We have 2 methods here in this post to Remove Google FRP Galaxy A3 Core in case of forgetting your previously added google account. You can go for any method from below to get back your device with updated Gmail account. There is no need any paid tool and PC. Simply, turn on device & Connect WiFi. After that, start following method from below.
Remember: Do not try this frp method on a stolen phone, this is a serious crime, if you are trying to bypass frp on a stolen phone, you may also be jailed, this process is for device owner and for educational purpose only.
| Method 1: Bypass Google FRP Samsung A3 Core (Updated) New |
| Method 2: Bypass Google FRP Samsung A3 Core Old |
Method 1: Remove Google FRP Galaxy A3 Core [NEW]
-Let’s start this method by turning on device & Connect WiFi first. After that, tap quickly 5-6 times on screen. After that, you will have a (Checking for update…) page. From there, hit on “Back Arrow” from bottom to go back.

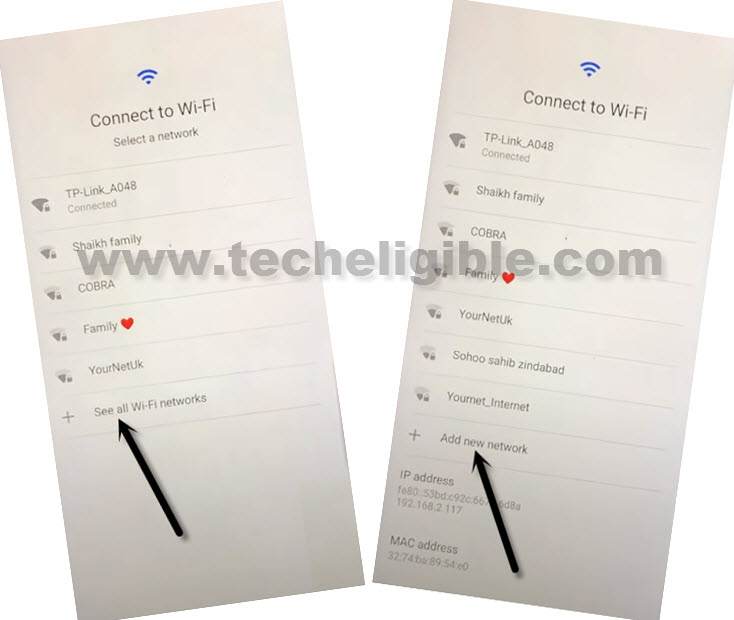
-You will reach back to (Connect to WiFi) page. Just go to “See All WiFi network”. Afterwards, go to “Add new network”.
-Tap on a (QR Code) icon same as shown in below image.
-You will be shown a QR Scanner over there, just tap to “Image” icon from there.
![]()
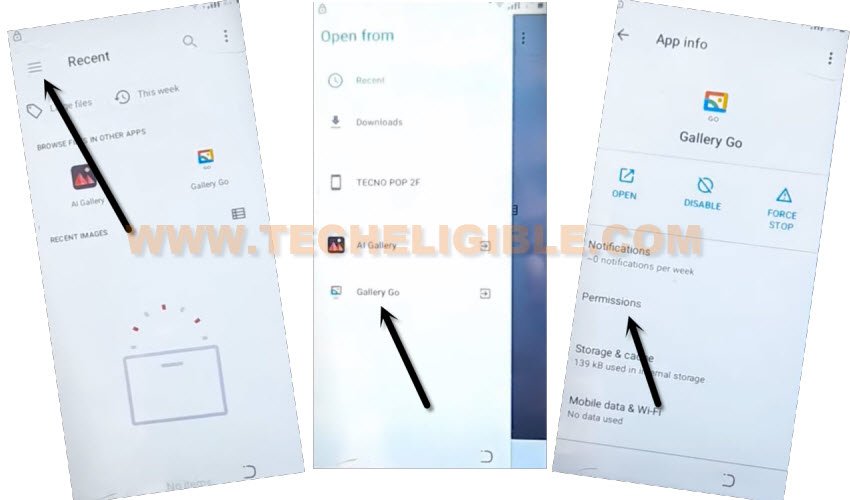
-Tap to “Menu icon” from top left corner. Afterwards, long tap on a “Gallery Go”.
-Tap to “Permissions”.
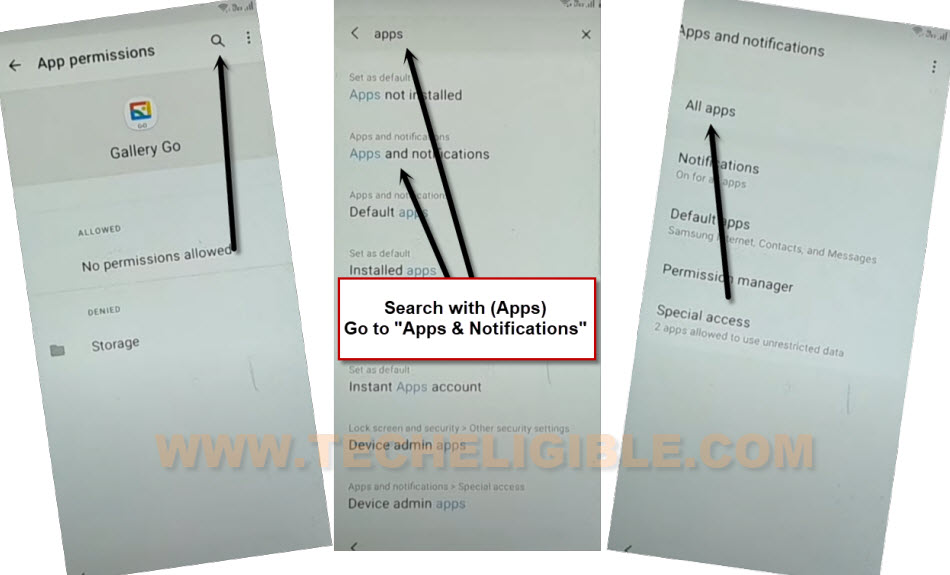
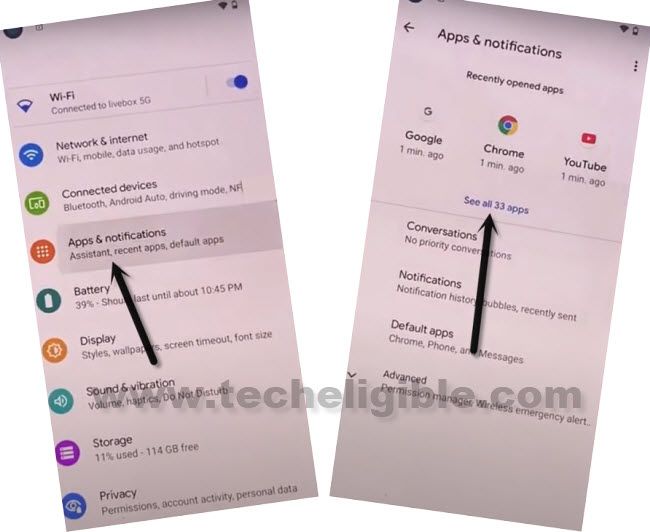
-Tap to “Search icon” from top corner. Search with “Apps”. You will have searched result there, just go to “Apps & Notification”.
-Go to “All Apps”.
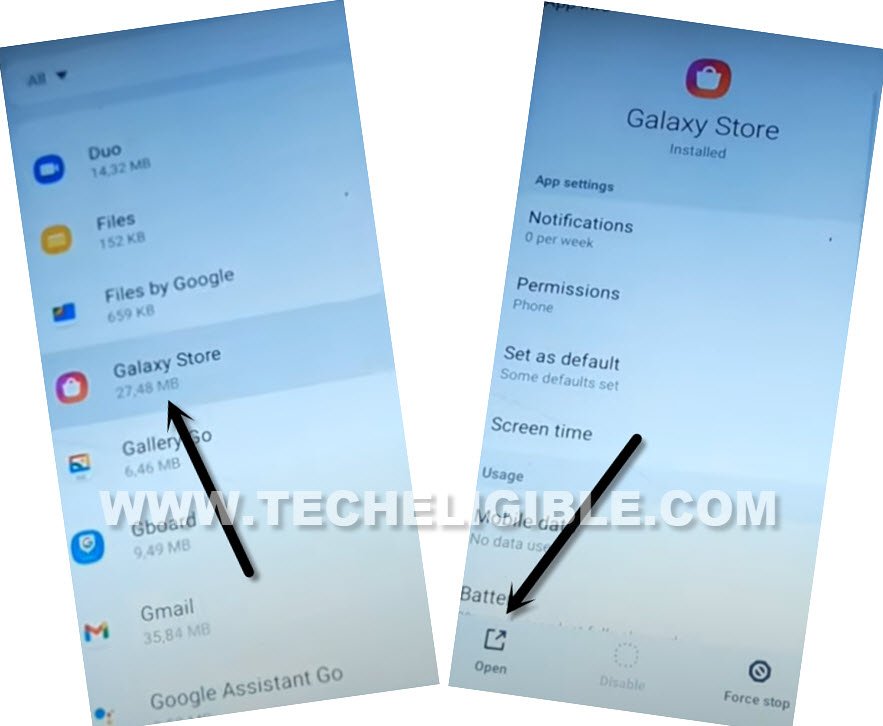
-Find and go to “Galaxy Store”. Tap to “Open”.
-Scroll down (Legal information) page, after that, check mark “i have read and agree…” option & tap to “Agree”.
-Tap to “Update” button to start updating galaxy store application.
-After updating process is done, you will get back to (Open from page). From there long tap again on “Gallery Go”. And hit on “Permissions”.

-Tap over “Search” icon, and search with “Apps”. Go to > Apps & Notifications > All Apps.
-Tap to > 3 dots > Showy system.
![]()
-You will be inside (App list) page, from there, hit on a > Android Setup > Force Stop > Ok.
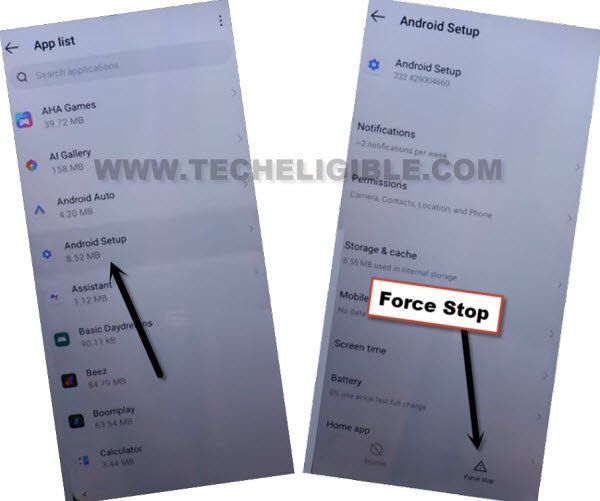
-Tap on “Back Arrow” from bottom to get back to (App list page).
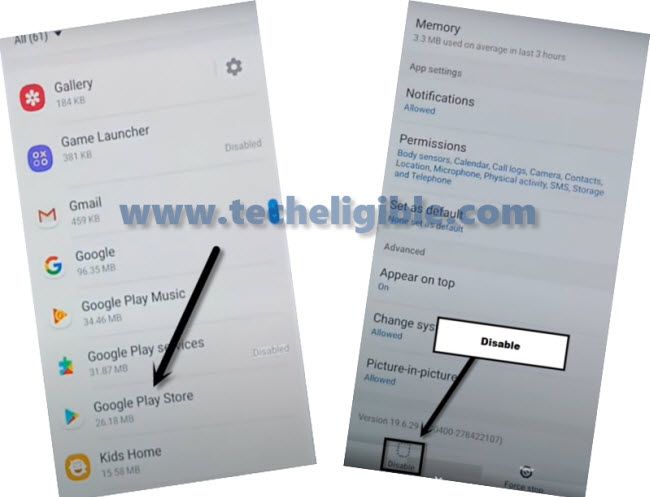
-This, go to > Google Play Services > Force Stop > Ok, after that, tap over > Disable > Disable App.
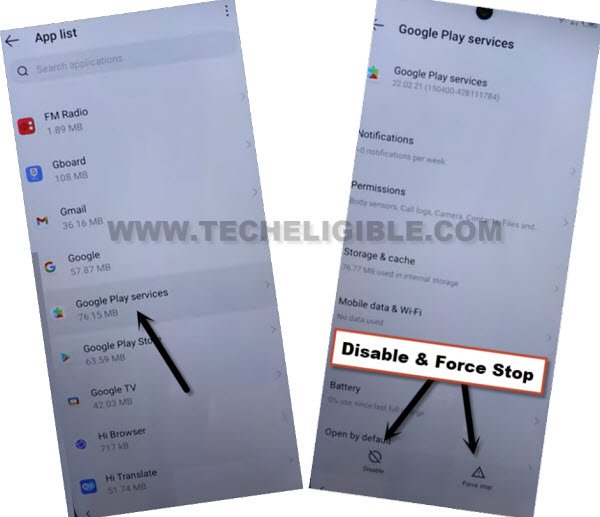
-Tap on “Back Arrow” from bottom to get back to (App list page).
-Lets find & tap on “Samsung Setup Wizard”.
-Tap to > Force Stop > Ok. After that, go to > Storage > Clear Cache.
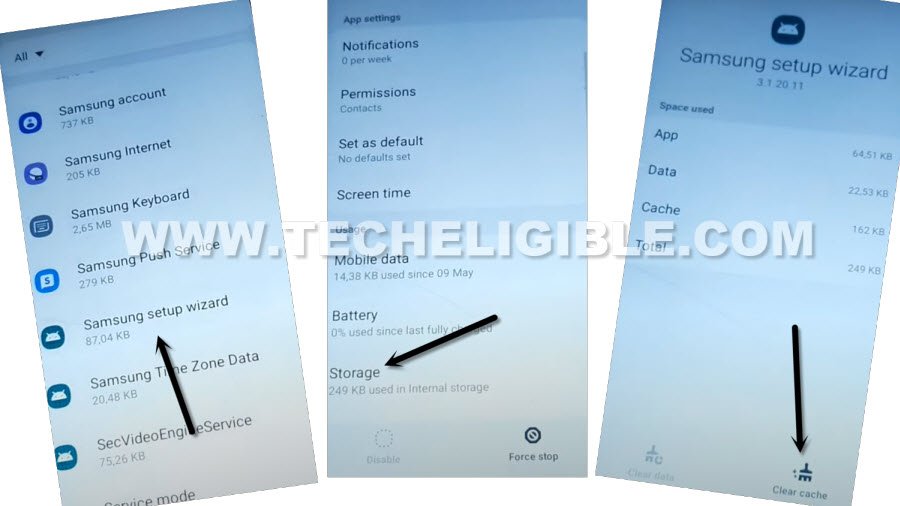
-Get back to (App list) page by hitting back arrow from bottom.
-Find and tap to > Galaxy Store > Open.
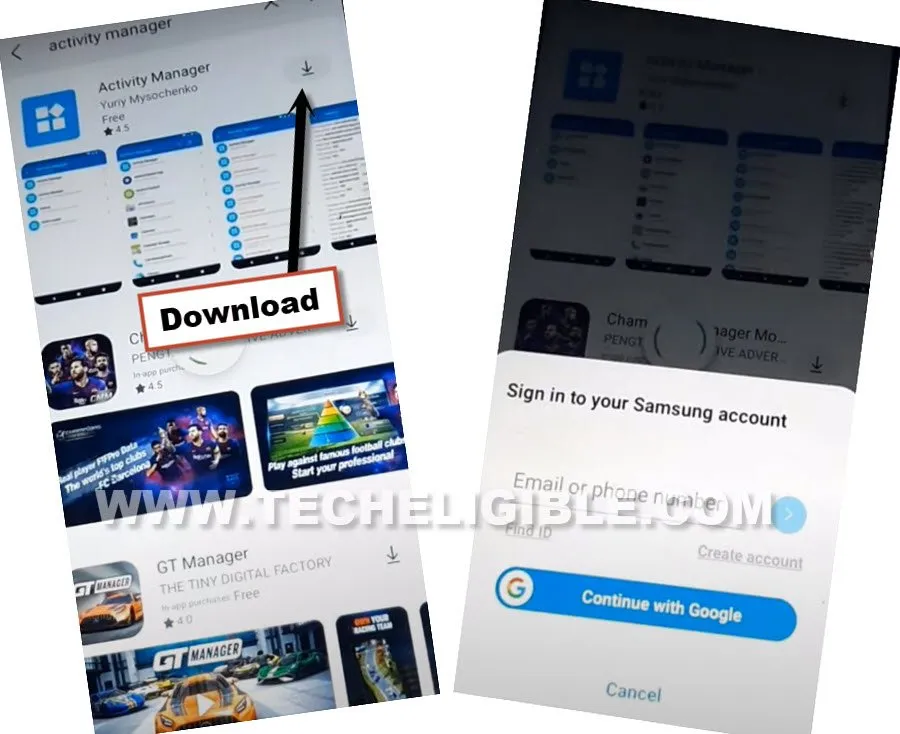
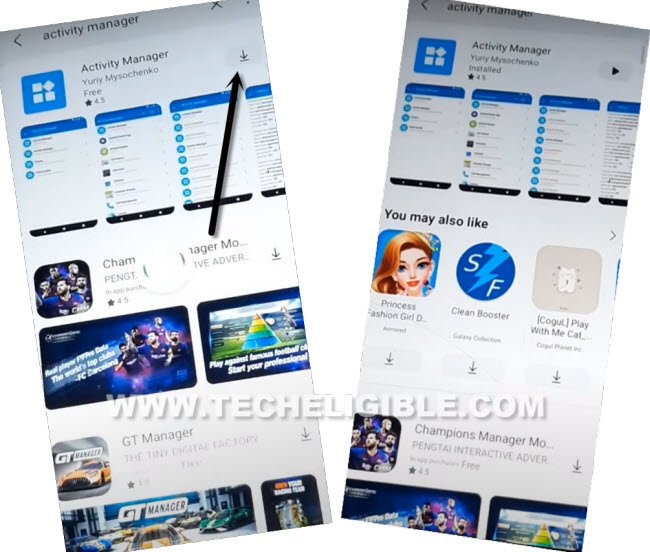
-After accessing inside galaxy store application, just go to “Search” icon from top corner. Search there with “Activity Manager”.
-Tap to “Download” icon to start downloading this app in your device. So that, we could easily remove google FRP Galaxy A3.
-Sign in with your Gmail account in order to start installing process of this app.
-Launch this app by tapping at “Open” icon from there.
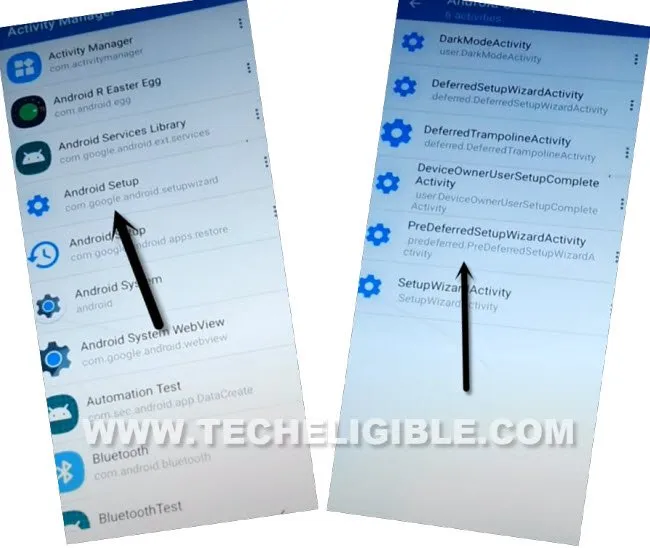
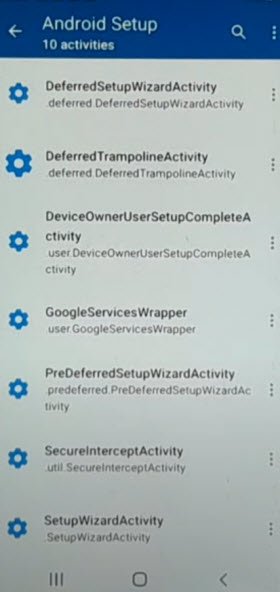
-Go to > Android Setup > PreDeferredSetupWizardActivity.
| Note: If you get a message of (Non-exported activities), just tap on “Settings” from that popup box, after that, hit on “Back Arrow” from bottom right corner. |
-Wait on a (Preparing for Setup) screen. If you reach back to (Activity Manager) app again, just tap again on ( PreDeferredSetupWizardActivity).
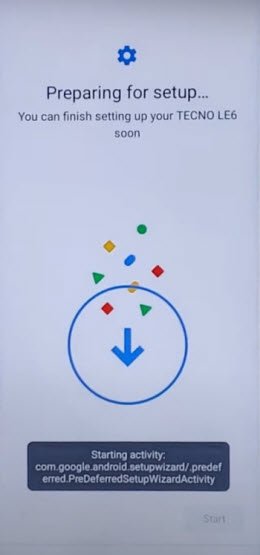
-This time, you will have a (Checking for update..) screen and this screen will go away with few seconds.
-From (Protect your phone) screen, tap to > Skip > Skip Anyway.
| Note: If you reach back again on “Activity Manager” page, simply, restart your device.
|
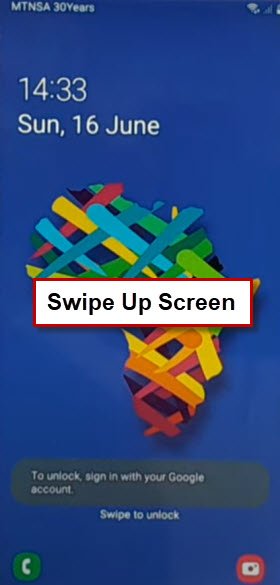
-Without finishing up setup wizard, you will be inside device main lock screen page. Just swipe that screen to unlock.
-If you see blinking page, and unable to perform any action. You can hard reset this device to fixup this issue also. After that, you will be able to finish up setup wizard easily.
-If your device stuck on blinking screen, just long hold “Power key”, and press to “Power off” option.
-Let’s hard reset the device by long hold both (Volume UP + Power key).
-As soon as you have a (Galaxy A3 Core) on screen, release only “Power key” and keep holding “Volume UP” key until you enter into (Android Recovery mode).
-Using (Volume buttons) select “Wipe Data/Factory reset” option.
-Select “Factory data reset” option. Within few minutes, your device will be reset completely. After that, you will be able to use your device again without any restrictions.
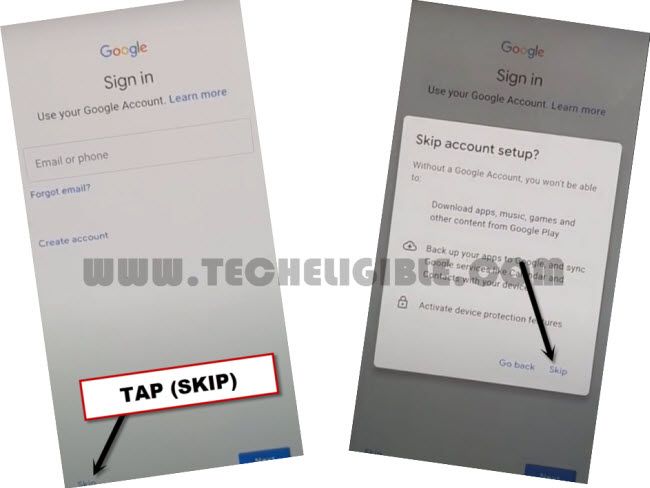
-If you see (Google Sign in) page, from there, tap to > Skip > Skip.
Method 2: Remove Google FRP Galaxy A3 Core [Old]
Step1: First of all, connect WiFi to your phone.
Step 2: Go back to (Choose a WiFi Network) screen, from there tap to “Add Network”.
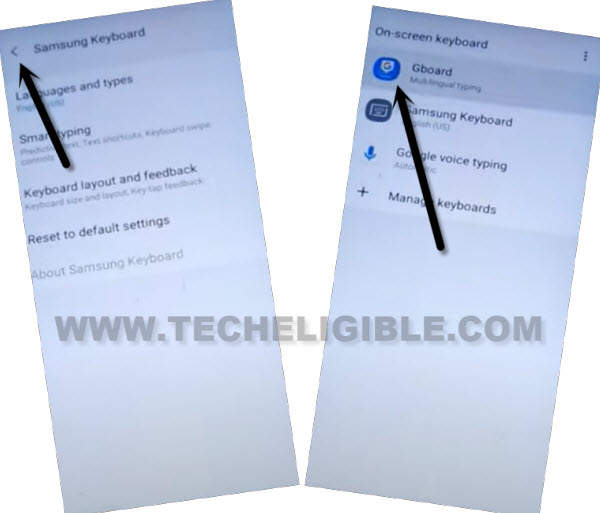
Step 3: Long tap on “Settings gear icon” from keyboard, and tap again on “Settings gear icon” by following below image.
![]()
Step 4: Tap “Back Arrow” from top left corner, and hit on “Gboard”.
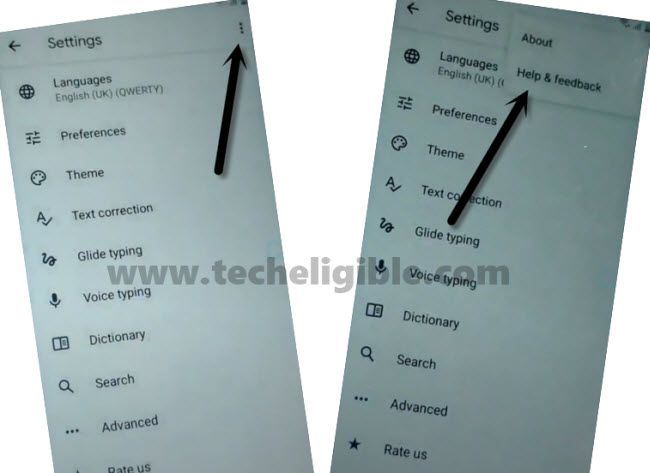
Step 5: Tap on “3 dots” from top right corner, and then tap on “Help & Feedback”.
Step 6: Tap on “Delete or Disable Apps on Android”, after that tap on “Tap to go to application settings”.
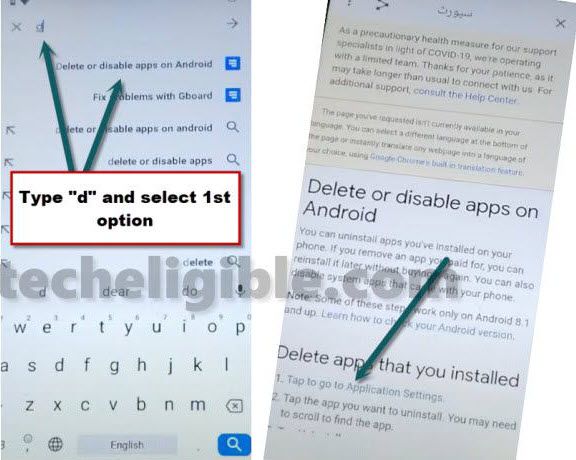
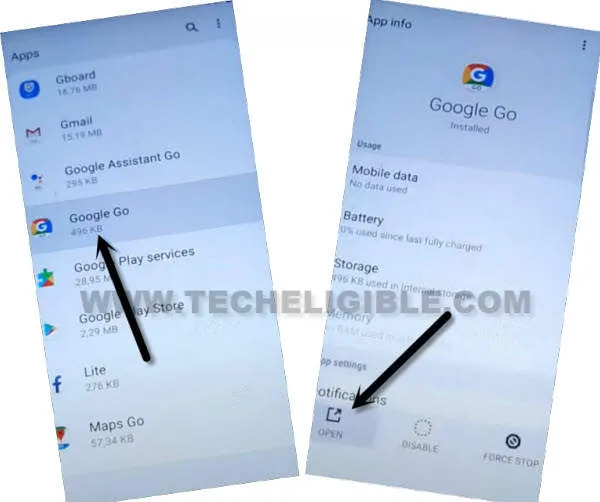
Step 7: Go down and tap to > Google Go > Open.
Step 8: Tap on “Use without google account”, and tap to “Done”.
Step 9: Type in search area “News”, and hit on “Go” option.
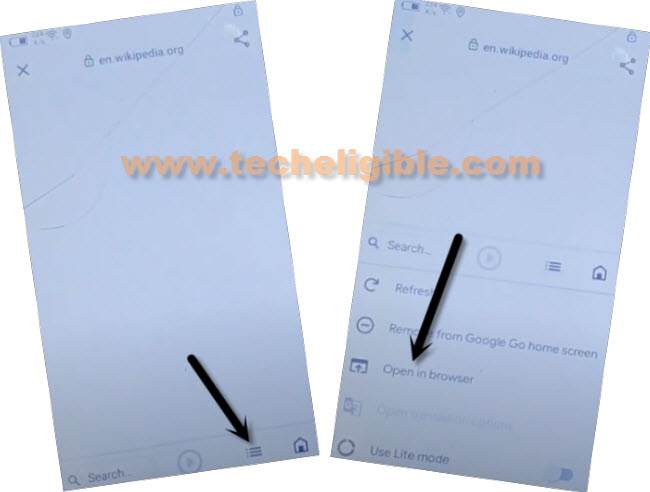
Step 10: Tap on “Menu icon”, and then hit on “Open in Browser”.
Step 11: Tap to > Accept & Continue > Next > No Thanks.
Download Galaxy A3 FRP Tools:
Step 12: Search there “Download frp tools” & visit our website 1st searched result.
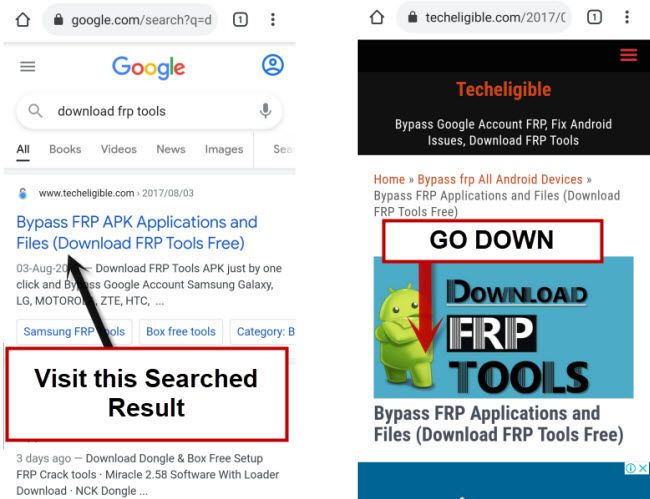
Step 13: Scroll down, and download below 3 frp apps in your device to Remove Google FRP Galaxy A3 Core.
1st: Google Play Services.
2nd: Quick Shortcut Maker 2.4.0.
3rd: Bypass any Samsung Google Account.
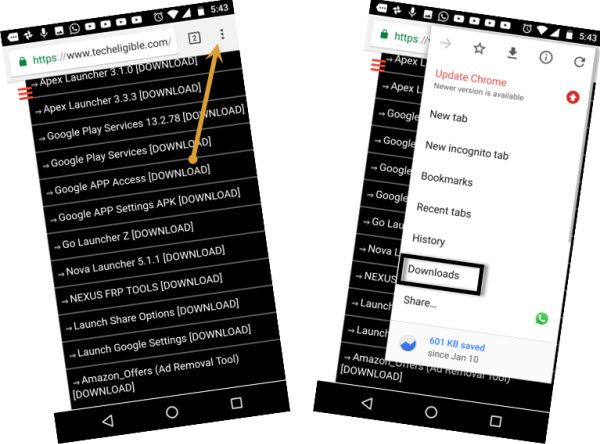
Step 14: Go to top of the webpage, and tap “3 dots” from top corner of google chrome browser, now hit on “Downloads” to access the downloaded frp apps, from there hit on “Google Play Services” app.
Step 15: You will see there a chrome popup window, just hit on “Settings” apk app, and turn on option “Allow from this source”.
Step 16: Tap on “Back Arrow”, and then tap to > Install > Done.
Step 17: Install & Open “Bypass Any Samsung Google Account“.
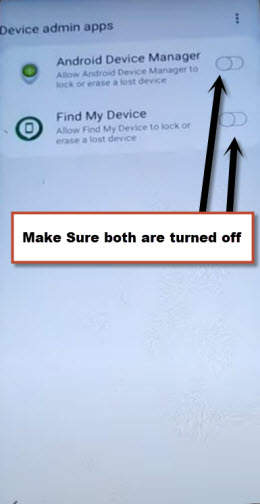
Step 18: From Settings, go to > Lock Screen & Security > Other Security Settings > Device Admin App.
Step 19: Make sure, both options (Android Device Manager & Find My device) are disabled, if not, then disable these both options.
Disable Apps & Add Account:
Step 20: Go back to > Settings > Apps & Notifications > All Apps.
Step 21: Hit on > Google Play Services > Disable > Disable App.
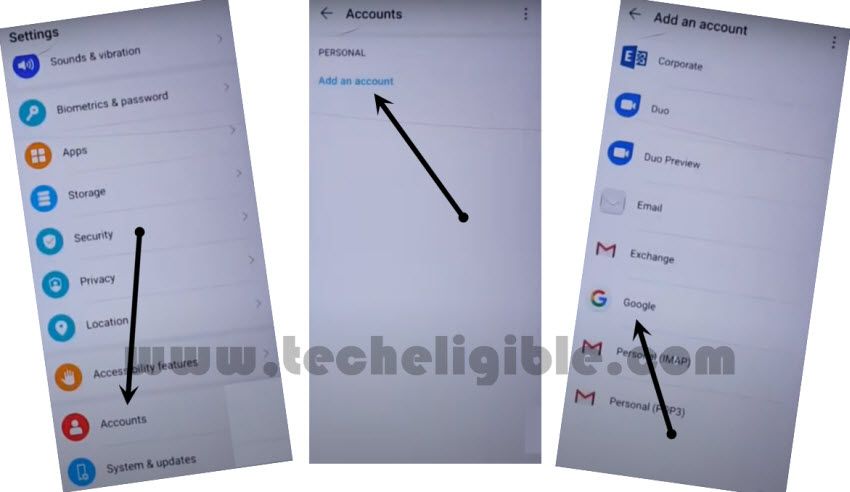
Step 22: Go back to > Settings > Account > Accounts > Add Account > Google > Continue > OK.
Step 23: Login with your new google account to Remove Google FRP Galaxy A3 Core.
Step 24: Get back to “Settings, from there go to > Lock Screen & Security > Other Security Settings > Device Admin App > Android Device Manager > Activate.
Step 25: Go back to “Settings”, now go to > Apps & Notifications > All Apps > Google Play Services > Enable.
Step 26: By tapping on “Back Arrow” few times, just get back to “Downloads” folder, where are your downloaded frp tools available.
Step 27: From there, Install & Open “Quick Shortcut Maker 2.4.0“.
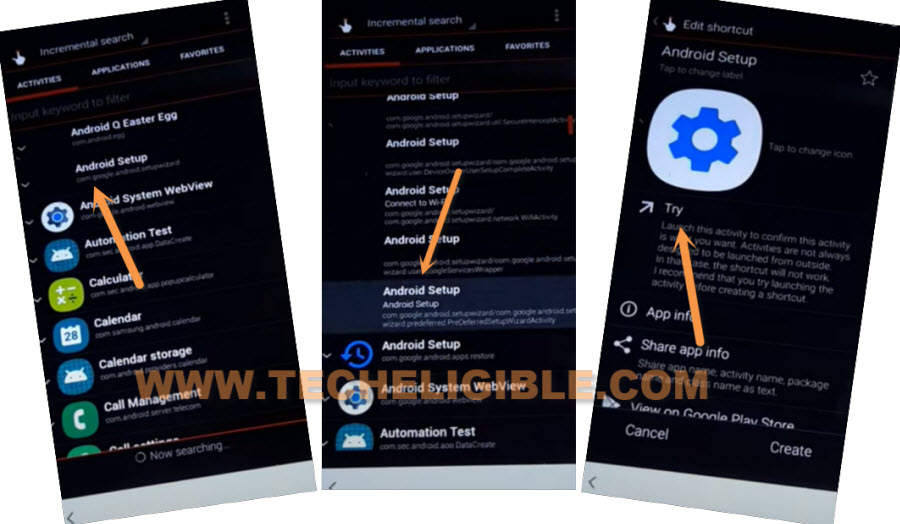
Step 28: Now tap to “Android Setup” to expand it, from the list of android setup, go down and tap very last “Android Setup”, after that hit on “Try” (See below image).
Final Step: Wait few minutes, you will be redirected in your device homescreen, now if you want, you can remove your added google account, and can easily perform factory data reset task from settings.